Table of Contents
Selecting the Right Location for Your DIY Pergola
When it comes to building a do-it-yourself pergola, one of the most important factors to consider is selecting the right location for your project. The location of your pergola will not only impact its overall aesthetic appeal but also its functionality and longevity. In this article, we will discuss some key considerations to keep in mind when choosing the perfect spot for your DIY pergola.
First and foremost, it is essential to consider the purpose of your pergola. Are you looking to create a cozy outdoor seating area, a shaded spot for dining, or a decorative structure to enhance your garden? The intended use of your pergola will help determine the ideal location. For example, if you plan to use your pergola for dining or entertaining, you may want to place it near your outdoor kitchen or patio. On the other hand, if you are looking to create a peaceful retreat, you may want to position your pergola in a secluded corner of your yard.
Another important consideration when selecting the location for your DIY pergola is the amount of sunlight the area receives. Pergolas are typically designed to provide shade and protection from the sun, so it is crucial to choose a spot that gets the right amount of sunlight throughout the day. Consider the orientation of your pergola in relation to the sun’s path and the surrounding landscape. If you live in a hot climate, you may want to position your pergola in a way that maximizes shade during the hottest parts of the day.
In addition to sunlight, it is also important to consider the prevailing wind direction in your area. Positioning your pergola in a spot that is sheltered from strong winds will help ensure its stability and longevity. You may want to take note of any existing structures or trees that could provide natural windbreaks for your pergola.
Furthermore, when selecting the location for your DIY pergola, it is important to consider the overall layout of your outdoor space. Take into account the size and shape of your yard, as well as any existing landscaping features. You may want to position your pergola in a way that complements the existing design of your outdoor space and creates a cohesive look. Consider how your pergola will interact with other elements in your yard, such as pathways, flower beds, and seating areas.
Lastly, it is important to consider any local building codes or regulations that may impact the location of your pergola. Before starting your DIY project, be sure to check with your local municipality to ensure that your pergola complies with any zoning restrictions or permit requirements. Failure to do so could result in fines or the need to relocate your pergola.
In conclusion, selecting the right location for your DIY pergola is a crucial step in the building process. By considering factors such as the intended use of your pergola, sunlight exposure, wind direction, overall layout of your outdoor space, and local building codes, you can ensure that your pergola is not only aesthetically pleasing but also functional and long-lasting. Take the time to carefully evaluate your options and choose a location that will enhance your outdoor living experience for years to come.
Step-by-Step Guide to Building Your Own Pergola
A pergola is a beautiful addition to any outdoor space, providing shade and a sense of intimacy to your backyard or garden. While hiring a professional to build a pergola can be expensive, building one yourself can be a rewarding and cost-effective project. In this article, we will provide you with a step-by-step guide on how to build your own DIY pergola.
The first step in building a pergola is to choose a suitable location for it in your outdoor space. Consider factors such as sunlight exposure, proximity to your home, and the overall layout of your yard. Once you have selected a location, mark out the area where the pergola will be built using stakes and string.
Next, you will need to prepare the ground for the pergola. This may involve clearing away any vegetation, leveling the ground, and possibly pouring a concrete foundation. The foundation will provide stability for the pergola and ensure that it remains standing for years to come.
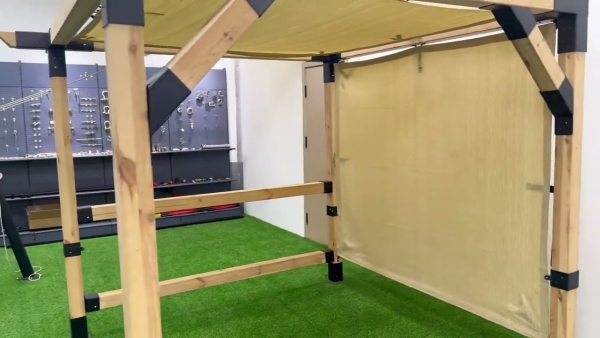
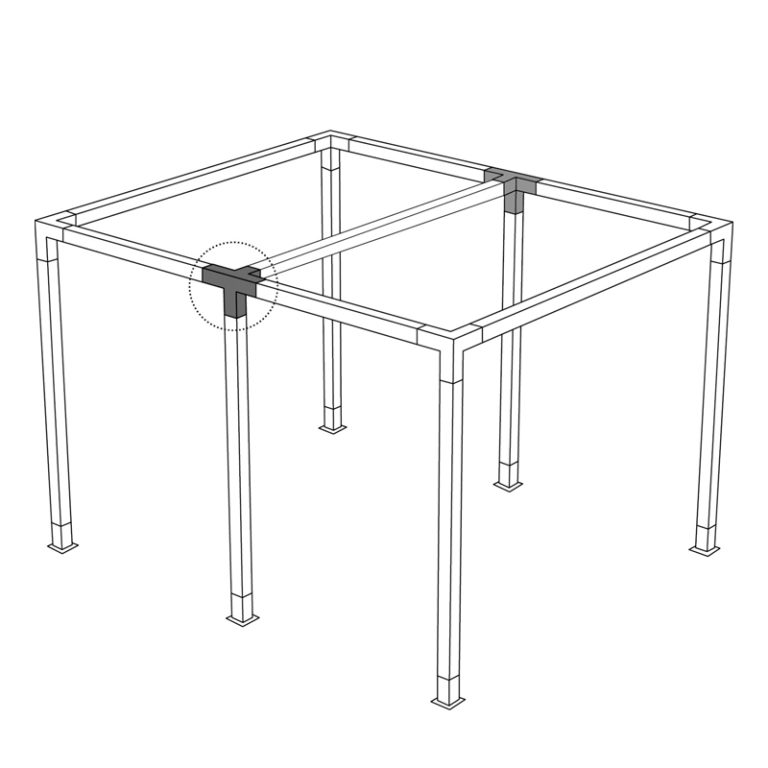
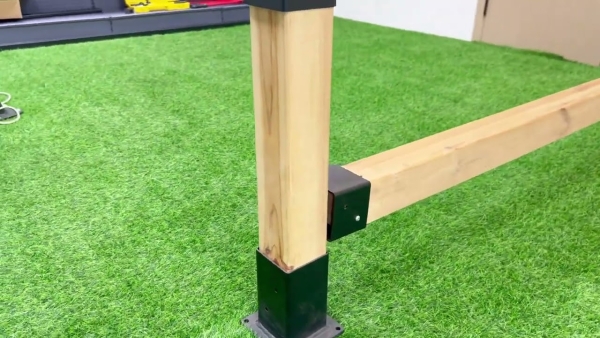
After the foundation has been prepared, it is time to start building the structure of the pergola. Begin by setting the posts in place, making sure they are level and securely anchored to the foundation. The number of posts you will need will depend on the size of the pergola you are building, but a typical pergola will have four posts.
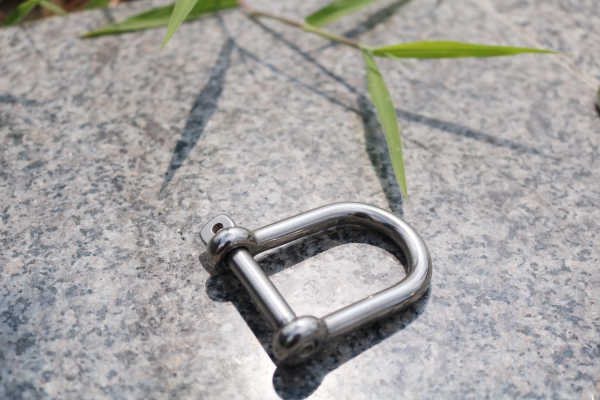
Once the posts are in place, it is time to install the crossbeams and rafters that will form the roof of the pergola. These can be attached to the posts using brackets or screws, ensuring that they are evenly spaced and level. The roof of the pergola can be left open or covered with lattice, fabric, or other materials for added shade and privacy.
Finally, it is time to add any finishing touches to your DIY pergola. This may include painting or staining the wood, adding decorative elements such as climbing plants or hanging lights, or installing a seating area underneath the pergola. These finishing touches will help to personalize your pergola and make it a truly unique addition to your outdoor space.
In conclusion, building a DIY pergola is a rewarding project that can enhance the beauty and functionality of your outdoor space. By following the steps outlined in this article, you can create a beautiful and functional pergola that will provide shade and a sense of intimacy to your backyard or garden. So why not roll up your sleeves and get started on building your own DIY pergola today?


