Table of Contents
فوائد إضافة العريشة المرفقة إلى منزلك
دليل خطوة بخطوة لبناء العريشة المرفقة في منزلك
يمكن أن تكون العريشة المرفقة إضافة جميلة لمنزلك، حيث توفر الظل ومكانًا للاسترخاء في الهواء الطلق. يتطلب بناء العريشة الملحقة بمنزلك تخطيطًا وتنفيذًا دقيقًا للتأكد من أنها سليمة من الناحية الهيكلية وممتعة من الناحية الجمالية. في هذا الدليل التفصيلي، سنرشدك خلال عملية بناء العريشة المرفقة في منزلك.
الخطوة الأولى في بناء العريشة المرفقة هي قياس موقع العريشة وتخطيطه بعناية. ضع في اعتبارك عوامل مثل حجم العريشة وارتفاعها والمسافة من المنزل. من المهم التأكد من محاذاة العريشة بشكل صحيح مع المنزل وأنها لا تعيق أي نوافذ أو أبواب.
بمجرد تحديد موقع العريشة، فإن الخطوة التالية هي إعداد الموقع. قد يشمل ذلك تطهير المنطقة من أي حطام أو نباتات، وتسوية الأرض، وتحديد موقع العريشة. من المهم التأكد من أن الموقع مستوي ومستقر لتوفير أساس متين للعريشة.
بعد إعداد الموقع، الخطوة التالية هي تثبيت أعمدة الدعم للعريشة. يجب تثبيت أعمدة الدعم بشكل آمن في المنزل باستخدام مسامير متخلفة أو أدوات تثبيت مناسبة أخرى. من المهم التأكد من أن أعمدة الدعم راسخة ومستوية لتوفير هيكل ثابت للعريشة.
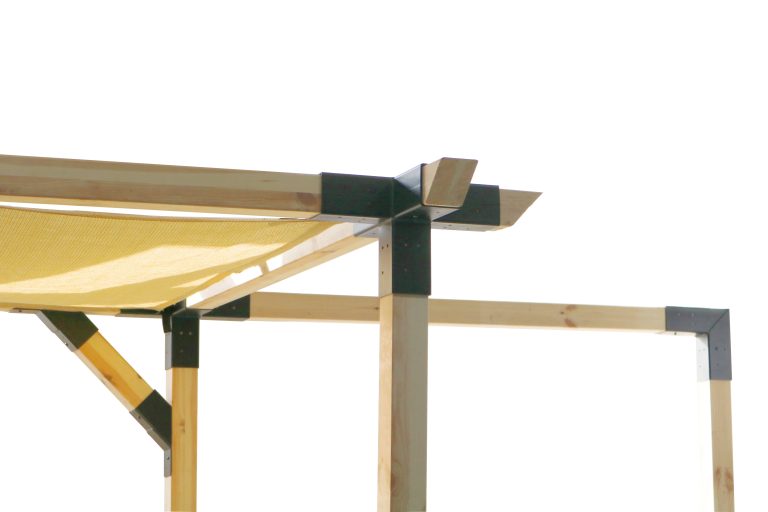
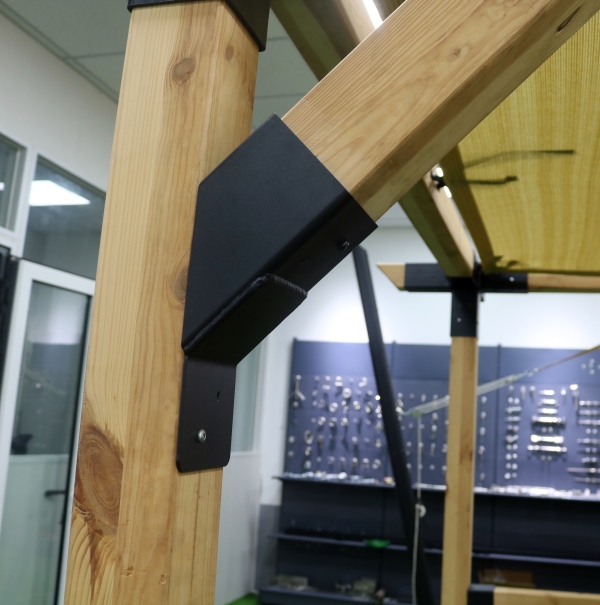
بمجرد وضع أعمدة الدعم في مكانها، فإن الخطوة التالية هي تثبيت العوارض الخشبية والعوارض الخشبية للعريشة. يجب أن يتم ربط العوارض بأعمدة الدعم باستخدام الأجهزة المناسبة، مثل الشماعات أو الأقواس. يجب أن تكون العوارض الخشبية متباعدة بشكل متساوٍ ومثبتة بشكل آمن على العوارض لتوفير الدعم لسقف العريشة.
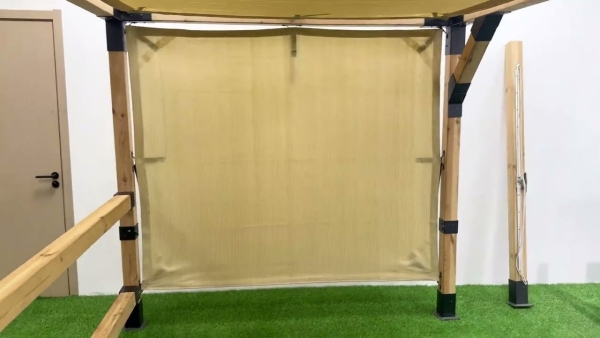
بعد تثبيت العوارض الخشبية والعوارض الخشبية، فإن الخطوة التالية هي تثبيت سقف العريشة. يمكن أن يكون السقف مصنوعًا من مجموعة متنوعة من المواد، مثل الخشب أو المعدن أو القماش. من المهم التأكد من تثبيت السقف بشكل آمن على العوارض والعوارض الخشبية لتوفير الحماية من العناصر.
بمجرد تثبيت السقف، فإن الخطوة الأخيرة هي إنهاء العريشة بأي عناصر زخرفية مرغوبة، مثل الألواح الشبكية. أو تسلق النباتات أو الإضاءة. يمكن لهذه اللمسات النهائية أن تعزز مظهر العريشة وتجعلها مساحة أكثر جاذبية للاسترخاء في الهواء الطلق.
في الختام، يمكن أن يكون بناء عريشة متصلة بمنزلك مشروعًا مجزيًا يضيف الجمال والوظيفة إلى مساحتك الخارجية. من خلال التخطيط الدقيق وتنفيذ كل خطوة من خطوات عملية البناء، يمكنك إنشاء عريشة سليمة من الناحية الهيكلية وممتعة من الناحية الجمالية توفر سنوات من المتعة لك ولعائلتك.
Step-by-Step Guide to Building an Attached Pergola on Your House
An attached pergola can be a beautiful addition to your house, providing shade and a place to relax outdoors. Building an attached pergola to your house requires careful planning and execution to ensure that it is structurally sound and aesthetically pleasing. In this step-by-step guide, we will walk you through the process of building an attached pergola on your house.
The first step in building an attached pergola is to carefully measure and plan the location of the pergola. Consider factors such as the size of the pergola, the height of the pergola, and the distance from the house. It is important to ensure that the pergola is properly aligned with the house and that it does not obstruct any windows or doors.
Once you have determined the location of the pergola, the next step is to prepare the site. This may involve clearing the area of any debris or vegetation, leveling the ground, and marking the location of the pergola. It is important to ensure that the site is level and stable to provide a solid foundation for the pergola.
After preparing the site, the next step is to install the support posts for the pergola. The support posts should be securely anchored to the house using lag bolts or other appropriate fasteners. It is important to ensure that the support posts are plumb and level to provide a stable structure for the pergola.
Once the support posts are in place, the next step is to install the beams and rafters for the pergola. The beams should be attached to the support posts using appropriate hardware, such as joist hangers or brackets. The rafters should be evenly spaced and securely attached to the beams to provide support for the roof of the pergola.
After installing the beams and rafters, the next step is to install the roof of the pergola. The roof can be made of a variety of materials, such as wood, metal, or fabric. It is important to ensure that the roof is securely attached to the beams and rafters to provide protection from the elements.
Once the roof is in place, the final step is to finish the pergola with any desired decorative elements, such as lattice panels, climbing plants, or lighting. These finishing touches can enhance the appearance of the pergola and make it a more inviting space for outdoor relaxation.
In conclusion, building an attached pergola to your house can be a rewarding project that adds beauty and functionality to your outdoor space. By carefully planning and executing each step of the construction process, you can create a structurally sound and aesthetically pleasing pergola that will provide years of enjoyment for you and your family.

