Table of Contents
فوائد استخدام دعامات العريشة الخشبية مقاس 4 × 4 بوصة في مساحتك الخارجية
دليل خطوة بخطوة لتركيب دعامات العريشة الخشبية مقاس 4 × 4 بوصة للحصول على هيكل قوي
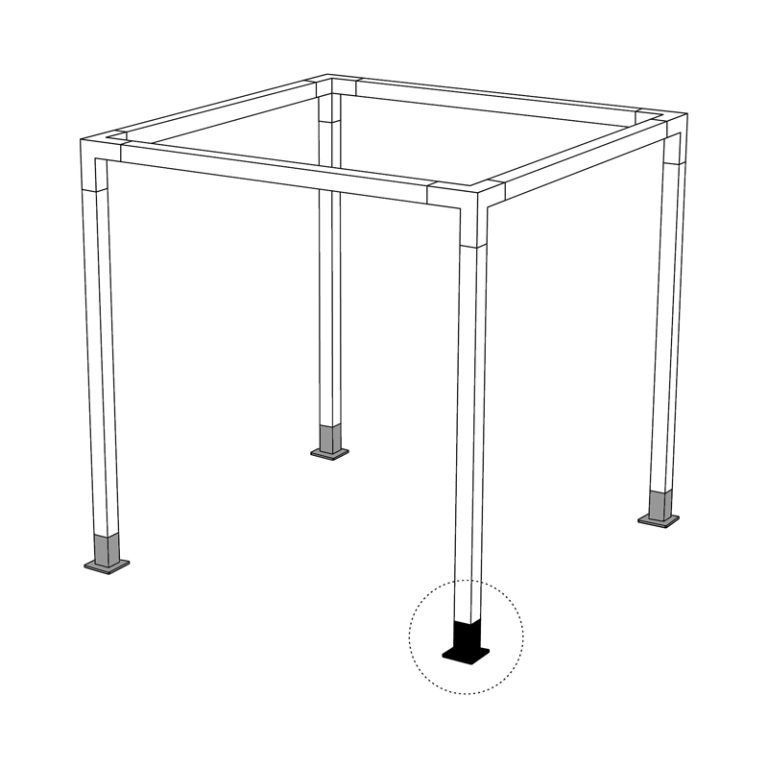
عندما يتعلق الأمر ببناء هيكل عريشة قوي، فإن استخدام أقواس العريشة الخشبية مقاس 4 × 4 بوصة أمر ضروري. توفر هذه الأقواس الدعم والثبات اللازمين للهيكل العام، مما يضمن قدرتها على تحمل العناصر واستمرارها لسنوات قادمة. في هذا الدليل التفصيلي، سنشرح بالتفصيل عملية تركيب حوامل العريشة الخشبية مقاس 4 × 4 بوصة لإنشاء عريشة قوية ومتينة.
للبدء، من المهم جمع كل المواد والأدوات اللازمة عملية التثبيت. يتضمن ذلك أقواس العريشة الخشبية مقاس 4 × 4 بوصة، ومسامير، ومثقاب، ومستوى، وشريط قياس. من المهم أيضًا التأكد من أن المنطقة التي سيتم تركيب العريشة فيها مستوية وخالية من أي عوائق.
الخطوة الأولى في تركيب أقواس العريشة الخشبية مقاس 4 × 4 بوصة هي قياس وتحديد مواقع الأقواس سيتم إرفاقها بمشاركات الدعم. من المهم التأكد من أن الأقواس متباعدة بشكل متساوٍ ومحاذاتها بشكل صحيح لتوفير أقصى قدر من الدعم لهيكل العريشة.
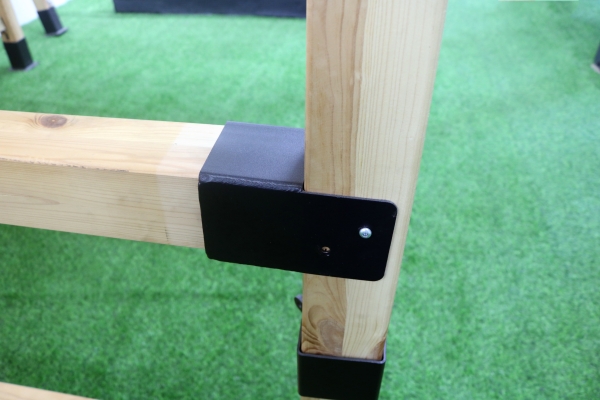
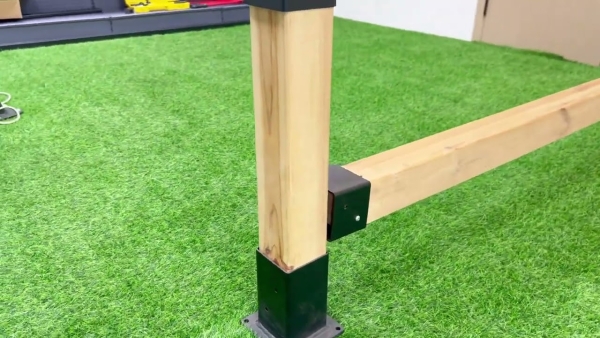
بمجرد تحديد المواقع، فإن الخطوة التالية هي تثبيت الأقواس على أعمدة الدعم باستخدام البراغي. من المهم استخدام البراغي ذات الحجم المناسب للتأكد من تثبيت الأقواس بشكل آمن على الدعامات. يمكن استخدام المثقاب لتثبيت البراغي داخل القوائم، مع التأكد من أنها محاذية لسطح الأقواس.
بعد تثبيت الأقواس على أعمدة الدعم، فإن الخطوة التالية هي تثبيت العوارض المتقاطعة التي ستربط الأعمدة وتوفر دعمًا إضافيًا لهيكل العريشة. يجب قطع العوارض المتقاطعة إلى الطول المناسب وتثبيتها على الأقواس باستخدام البراغي. من المهم التأكد من أن العوارض المتقاطعة مستوية ومتباعدة بشكل متساوٍ لتوفير هيكل قوي ومتوازن.
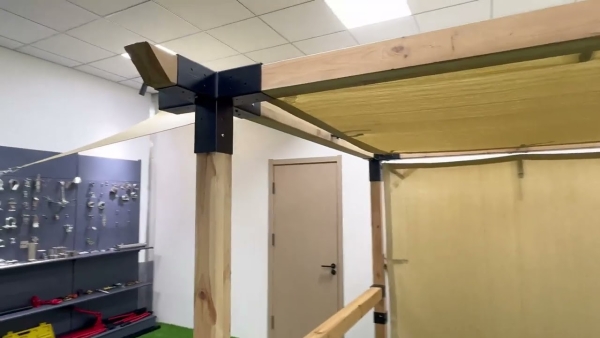
بمجرد تثبيت العوارض المتقاطعة، فإن الخطوة الأخيرة هي إضافة العوارض الخشبية التي ستدعم سقف العريشة. يجب قطع العوارض الخشبية إلى الطول المناسب وربطها بالعوارض المتقاطعة باستخدام البراغي. من المهم التأكد من أن العوارض الخشبية متباعدة بشكل متساوٍ ومحاذاتها بشكل صحيح لتوفير سقف قوي ومستقر لهيكل العريشة.
في الختام، يعد تركيب أقواس العريشة الخشبية مقاس 4 × 4 بوصة أمرًا ضروريًا لإنشاء هيكل قوي و هيكل العريشة دائم. باتباع هذا الدليل التفصيلي، يمكنك التأكد من أن العريشة الخاصة بك مصممة لتدوم طويلاً وستوفر سنوات من المتعة والجمال في مساحتك الخارجية. باستخدام المواد والأدوات والتقنيات المناسبة، يمكنك إنشاء عريشة ليست عملية فقط ولكنها أيضًا ممتعة من الناحية الجمالية.
When it comes to building a sturdy pergola structure, the use of 4”x4” timber pergola brackets is essential. These brackets provide the necessary support and stability for the overall structure, ensuring that it can withstand the elements and last for years to come. In this step-by-step guide, we will detail the process of installing 4”x4” timber pergola brackets to create a strong and durable pergola.
To begin, it is important to gather all the necessary materials and tools for the installation process. This includes the 4”x4” timber pergola brackets, screws, a drill, a level, and a measuring tape. It is also important to ensure that the area where the pergola will be installed is level and free of any obstructions.
The first step in installing the 4”x4” timber pergola brackets is to measure and mark the locations where the brackets will be attached to the support posts. It is important to ensure that the brackets are evenly spaced and aligned properly to provide maximum support for the pergola structure.
Once the locations have been marked, the next step is to attach the brackets to the support posts using screws. It is important to use the appropriate size screws to ensure that the brackets are securely attached to the posts. A drill can be used to drive the screws into the posts, making sure that they are flush with the surface of the brackets.
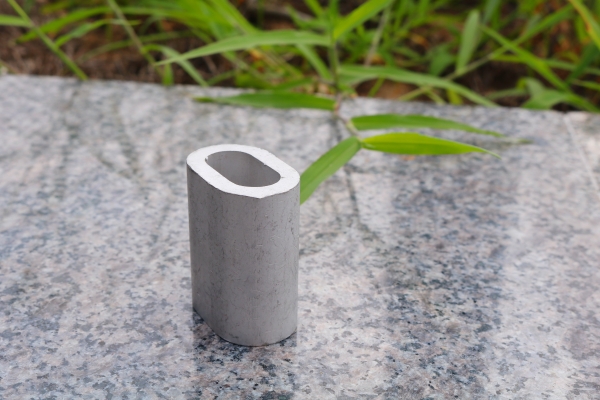
After the brackets have been attached to the support posts, the next step is to install the cross beams that will connect the posts and provide additional support for the pergola structure. The cross beams should be cut to the appropriate length and attached to the brackets using screws. It is important to ensure that the cross beams are level and evenly spaced to provide a sturdy and balanced structure.
Once the cross beams have been installed, the final step is to add the rafters that will support the roof of the pergola. The rafters should be cut to the appropriate length and attached to the cross beams using screws. It is important to ensure that the rafters are evenly spaced and aligned properly to provide a strong and stable roof for the pergola structure.
In conclusion, the installation of 4”x4” timber pergola brackets is essential for creating a sturdy and durable pergola structure. By following this step-by-step guide, you can ensure that your pergola is built to last and will provide years of enjoyment and beauty in your outdoor space. With the proper materials, tools, and techniques, you can create a pergola that is not only functional but also aesthetically pleasing.

